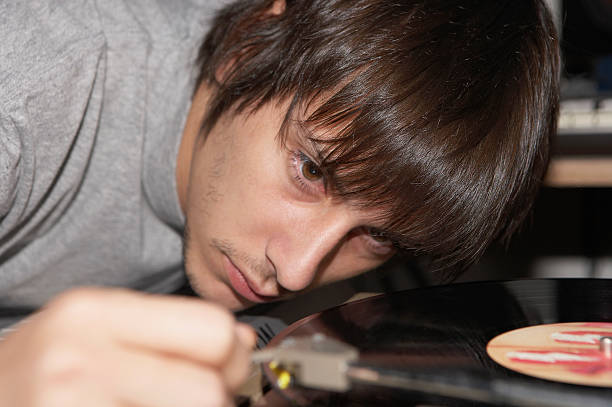
So you’ve got your slipmats dialed in, your needles are fresh, and you’re finally ready to unleash those crab scratches on the crowd. But hold up—before you drop that first bar, let’s talk about the unsung hero of your turntable setup for scratching: the tone arm. If you’ve ever chased that perfect balance where the stylus glides like butter over vinyl without skipping when you backspin, you know exactly what I mean. Tone arm balancing perfectionism isn’t just a quirky obsession; it’s the difference between sounding like a legend and sounding like you’re fighting your gear.
First, let’s get real. Scratching is not the same as casual listening. When you’re beat mixing in a club, your tone arm can be a little loose, a little forgiving. But when you’re scratching—especially if you’re doing transforms, flares, or chirps—that stylus is getting thrown around like a ragdoll. A perfectly balanced tone arm is your first line of defense against skipping. It’s the kind of precision that separates the bedroom DJ from the one who can lock in a 20-minute set without a single dropout.
Here’s the kicker: most people skip the calibration step. They just slap on a cartridge, set the tracking force to whatever the box says, and call it a day. But for scratching, that’s like driving a Ferrari with the parking brake on. You need to dial in the anti-skate, the vertical tracking angle, and the tonearm height until everything feels juuust right. I’m talking about spending ten minutes with a stylus force gauge, tweaking by tenths of a gram, until the needle sits in the groove like it was made for it. That’s tone arm balancing perfectionism—and it’s totally worth it.
Why does this matter for your gear setup? Because the essential equipment for scratching isn’t just the turntable itself. You need a tonearm that’s stable under pressure. If you’re using a budget table with a wobbly arm, you’re fighting physics every time you scratch. The best turntables for scratching—like the Technics SL-1200MK7 or the Reloop RP-7000—have robust tonearms with high-quality bearings and adjustable anti-skate. But even with those, perfectionism is key. A millimeter off in the height can cause the stylus to dig in or float out, ruining your groove.
And let’s not forget the infamous “skip test.” You know the one: you hold the tonearm over the record, give it a gentle tap, and see if it holds. But perfectionism takes that further. You check it at the outer edge, the middle, and the inner grooves. You adjust the anti-skate until the skip is gone even during aggressive backspins. Then you test it with a scratch pattern like the baby scratch or the scribble. If it holds, you’re gold. If not, you go back to the dials. It’s a ritual—annoying, but essential.
This obsession pays off in the long run. A perfectly balanced tone arm reduces wear on your records and stylus. It means fewer replacements, which means more money for vinyl or better gear. Plus, when you’re playing live, you’re not nervous about that one sticky spot in the groove that always skips. You’ve already conquered it at home.
So if you’re building your turntable setup for scratching, don’t sleep on the tone arm. Spend the extra 20 minutes. Watch a YouTube tutorial. Buy a $20 force gauge. Embrace the perfectionism. Because when you drop that first snare scratch and it hits clean, you’ll know exactly why it mattered.